Lifting A Slab Foundation down 5.9 Inches in Mission Viejo
Customer: Sydelle S.
Location: Mission Viejo, CA
Project Consultant: Armando Sandoval
Project Manager: Joe Delgado
Why did customer contact Dalinghaus Construction?
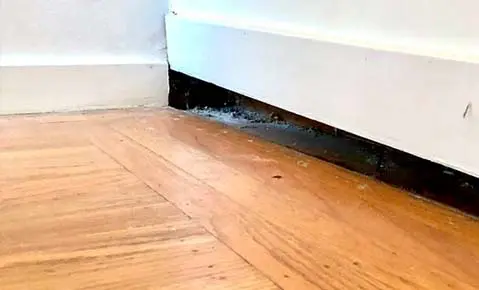
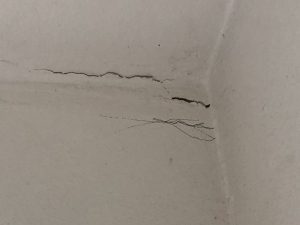
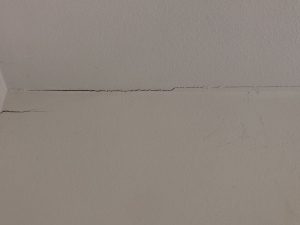
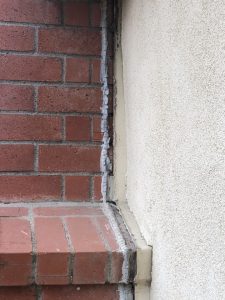
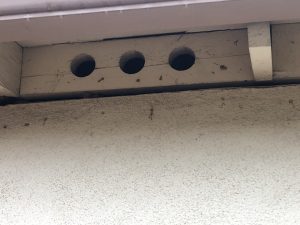
Sydelle had connected with us through Angie’s List. Her rental property in Mission Viejo was sitting vacant at the moment, and she wanted to have her foundation concerns addressed while the home was empty. She had stated the back of the house seemed to be slipping down. She also observed a crack in the foundation, and was having chimney issues. Sydelle wanted to fix her foundation before she replaced the flooring and made other repairs to the home.
What solutions did Dalinghaus Construction provide?
We sent Project Consultant, Armando Sandoval to perform an inspection of Sydelle’s foundation. He used his ziplevel altimeter to take floor elevation readings of the slab. His data showed many areas that had settled. The worst affected area of the home was down 5.9 inches! Armando put together a repair plan for Sydelle’s foundation that included a total of 11 helical piers, an attempt to lift the sinking corner and chimney back into place, 359 sq. feet of polyurethane void fill, 287 sq. feet of concrete slab lifting, 15 linear feet of carbon fiber crack stitching, and 1 area of concrete removal and replacement at the pier location. Sydelle opted to move forward with Dalinghaus to repair her foundation.
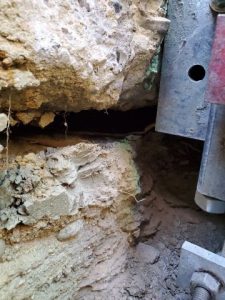
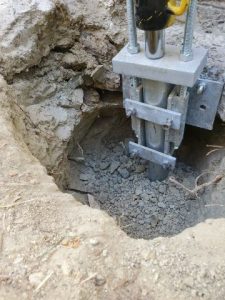
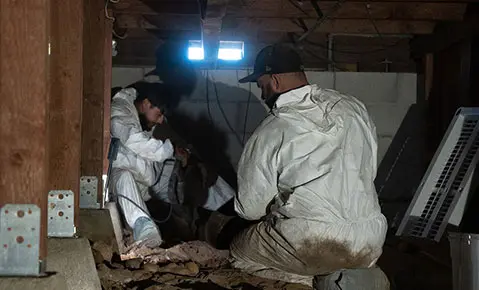
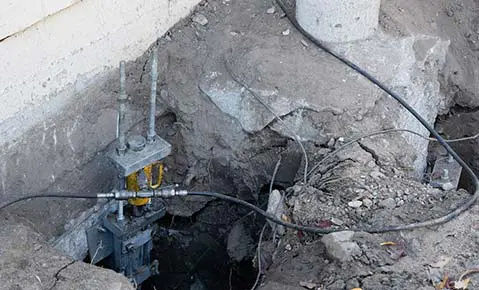
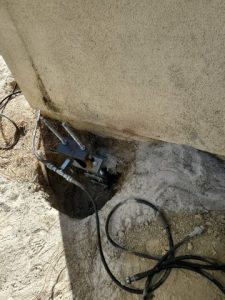
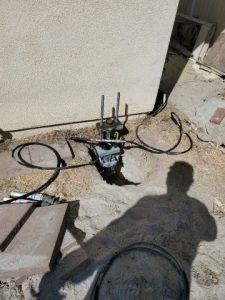
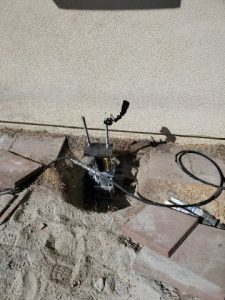
The Project Manager for Sydelle’s project was Joe Delgado. Joe and his crew began by digging 3×3’ holes at each of the 11 pier locations. Then the crew cleaned and prepped the footing to mount the helical brackets. The helical piers were installed at each location. Once all the piers were in place, Joe was able to perform a lift on the sunken corner of the home and the chimney. They were able to achieve over 3 inches of lift. The piers were locked in place, cut, and capped.
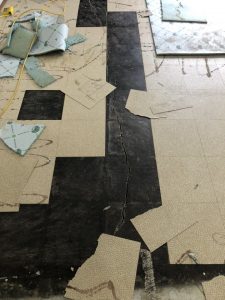
The last step of this repair was overseen by our GeoPolymer Project Manager, Rick Whitehead. Rick and his crew began filling the voids created from lifting the home. They then lifted a sunken slab in the master bedroom and the living room back into place. They were able to do the void fill and the lift by drilling through the slab, and injecting the polyurethane through ports in the slab. Lastly, the crew worked on repairing the 15’ crack in the living room. They prepped the crack, placed the carbon fiber stables, then epoxied them into place.
Before Installation
During Installation
After Installation
